LoopCast › Loop a PowerPoint or PDF
How to loop a PowerPoint or PDF on a projector.
Three ways to keep a slideshow repeating on a projector or TV, from the setting already in your presentation app to a dedicated looping player.
1. In PowerPoint
- On the Transitions tab, check After and set how many seconds each slide stays up. Click Apply To All.
- On the Slide Show tab, choose Set Up Slide Show and check Loop continuously until ‘Esc’.
- Start the slide show. It repeats until you press Esc.
2. In Keynote or Google Slides
Keynote: in the Document inspector, set the presentation type to Self-Playing, choose a delay, and check Loop slideshow.
Google Slides: start the presentation, open the options menu in the presenter toolbar, choose Auto-play, pick a speed and check Loop.
These work for a single deck. They get awkward when you need video in the loop, more than one loop for different parts of the day, a logo screen, or a preview of what the room sees.
3. With LoopCast
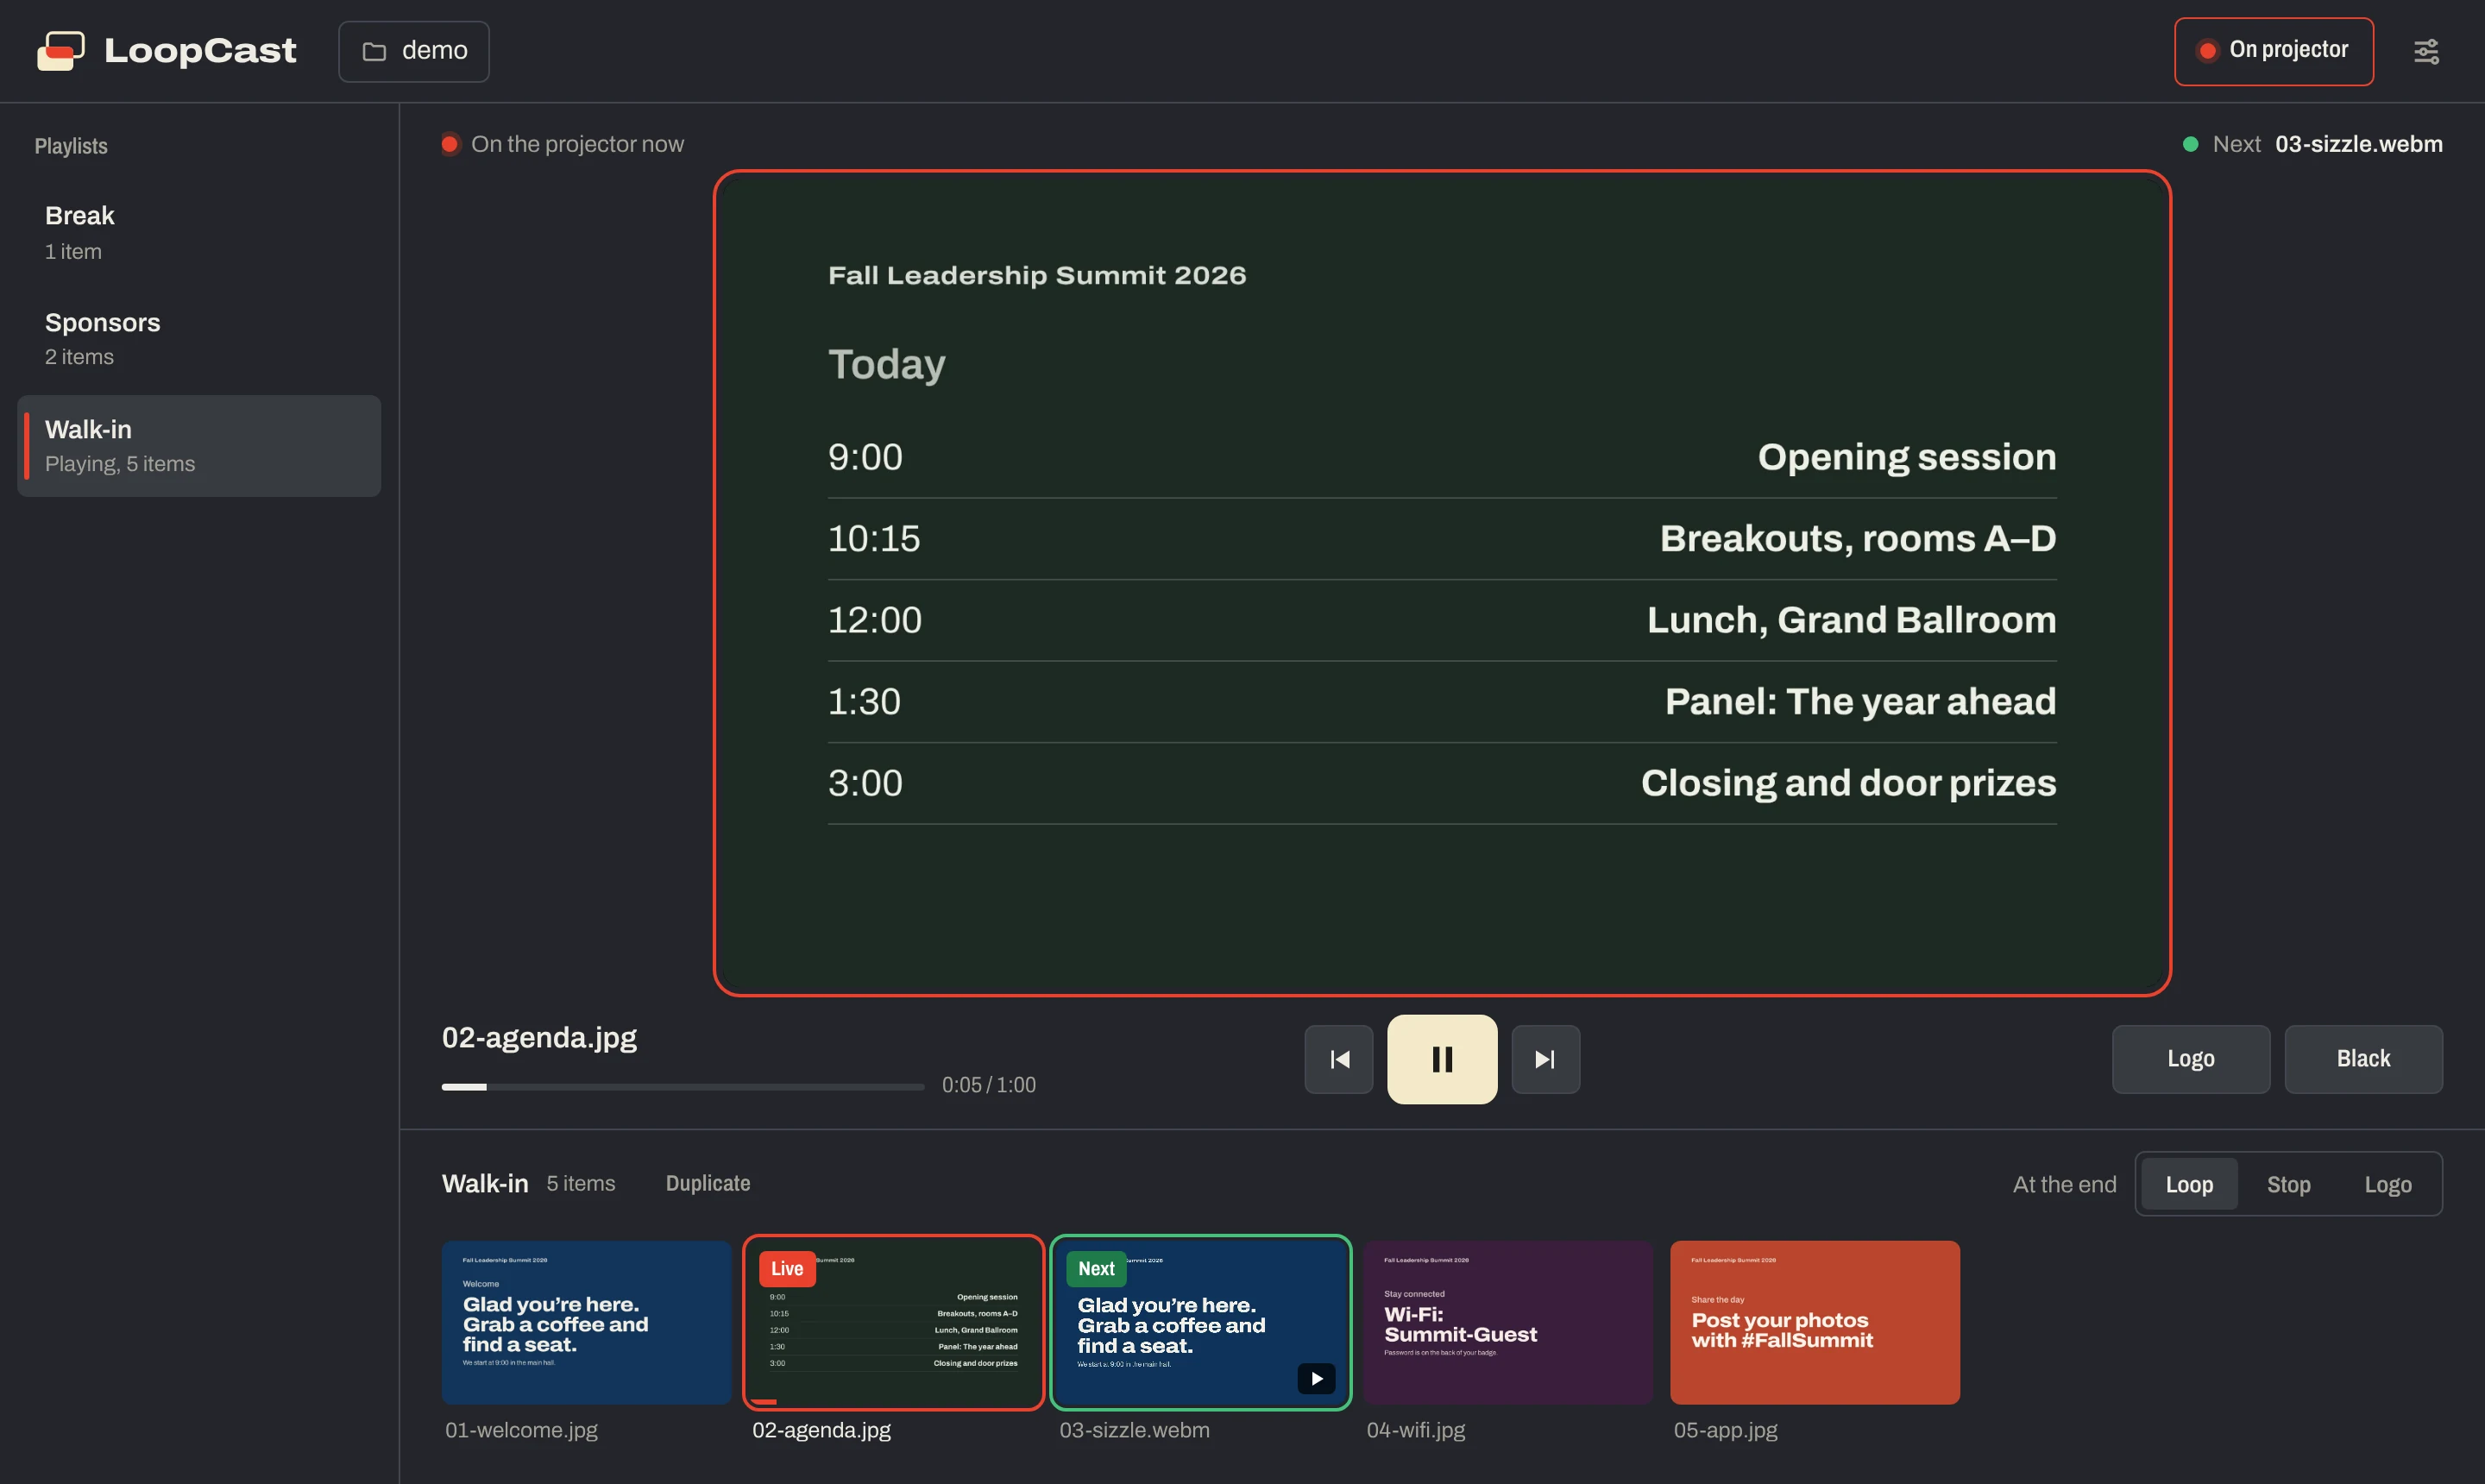
LoopCast is a free player built for this job. It loops images, PDFs and video, and gives you separate playlists, a live preview and one-key logo and black screens.
- Export your deck as a PDF. PowerPoint: File › Export › PDF. Keynote: File › Export To › PDF. Google Slides: File › Download › PDF.
- Put the PDF in a folder, along with any videos or images you want in the same loop. Each page of the PDF becomes a slide.
- Open LoopCast and choose the folder. Click Show on projector, then play. Use Fullscreen here if there’s only one screen.
Tips for a slideshow that reads well from the back of the room
- Use a 16:9 slide size to match most projectors and TVs.
- Keep text large and short. Eight to ten seconds per slide is a good starting point.
- For video, export MP4 (H.264). It plays everywhere.
Ready when the doors open.
Your computer will show a security warning the first time you open it. That’s expected. Here’s why, and what to click.